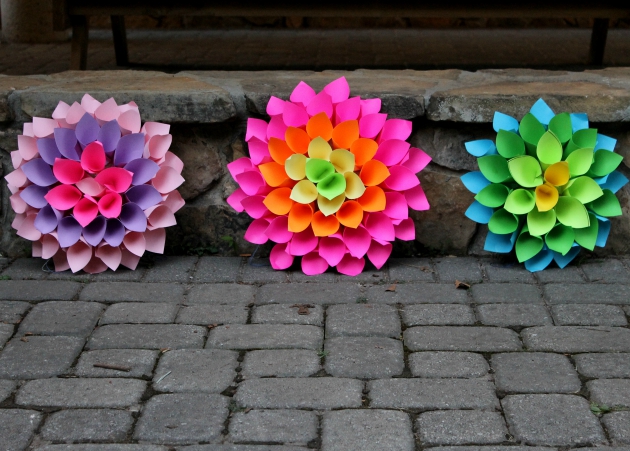
Stylish Home Decor Project: Paper Flower Craft
This post contains affiliate links and/or images. For my daughter’s birthday, she wanted to redecorate her bedroom. We took everything off the walls and painted them a pretty pale lavender.
We put up dark grey drapes, which went beautifully with the light purple walls. We replaced one of her small bookcases for a storage bench. We have limited storage space in our house, so this was a smart decorating decision on Caitlin’s part.
When it came to the wall decor, she wanted to keep it simple and didn’t want to spend a lot of money (Yay!!) Caitlin wanted to make the paper dahlia flowers a friend of hers had for her own room. Because it was going to cost about $2 to make for each flower, I was A-OK with her idea!
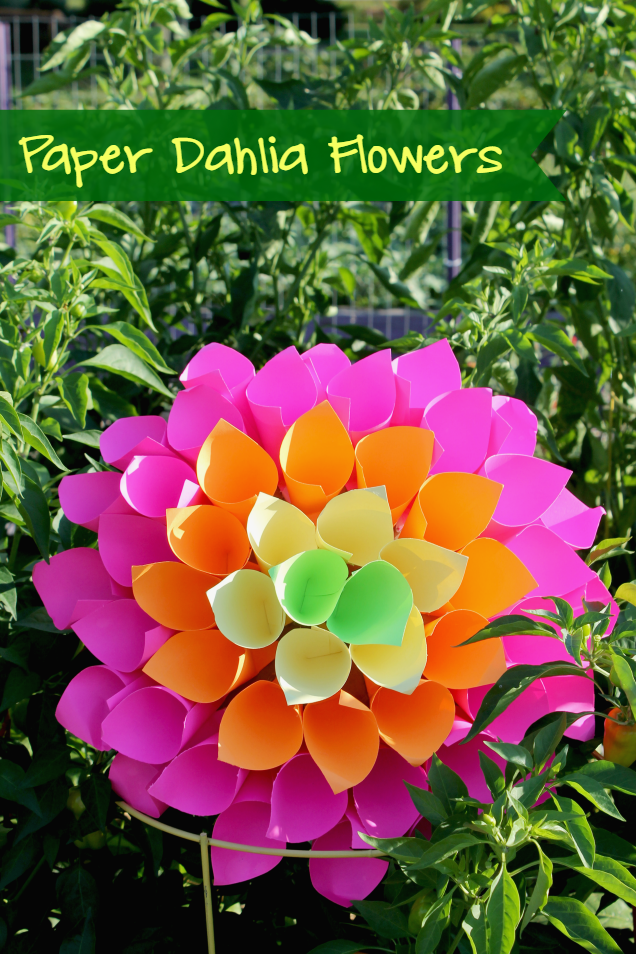
DIY Paper Dahlia Flowers
These flowers are a bit of a time sucker (about an 45-60 minutes per flower), but the end result is far worth the time and energy. Caitlin said what took the most time was making the first flower as you are kind of figuring things out as you go.
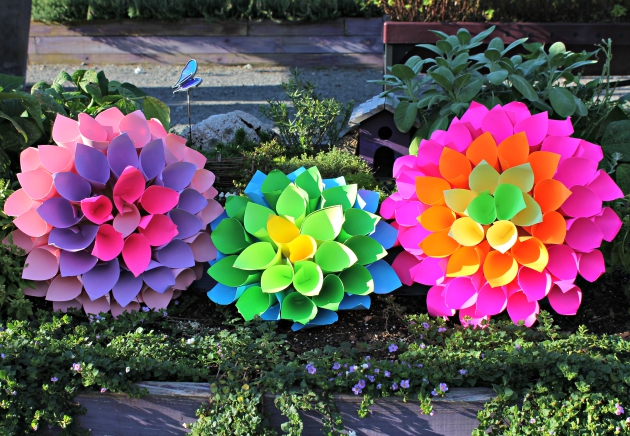
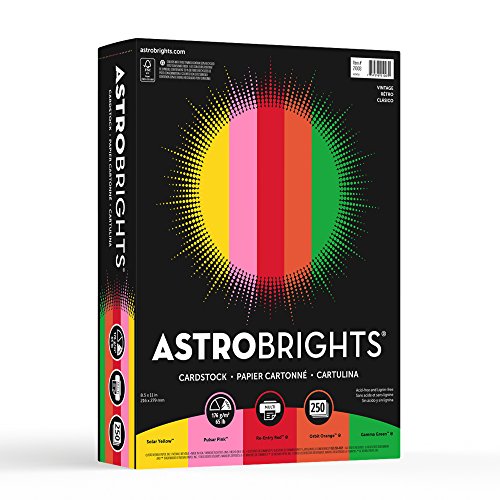
She said the next 3 flowers went more quickly. We bought colored card stock from the craft store. To make sure we had plenty of color options for our flowers, we got one pack of pastel and one pack of bright colors.

What you will need for each flower:
- 10 Sheets of 8.5″ x 11″ colored card stock (Each flower has 4 layers. The biggest layer takes 4 sheets, the next layer takes 3, the third layer takes 2 and then the center will take 1 sheet.)
- Scissors
- Pen
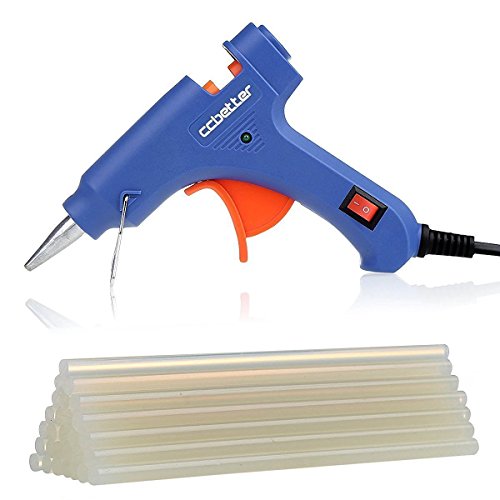
- Low Temp Glue Gun
- Scotch or masking tape (optional)
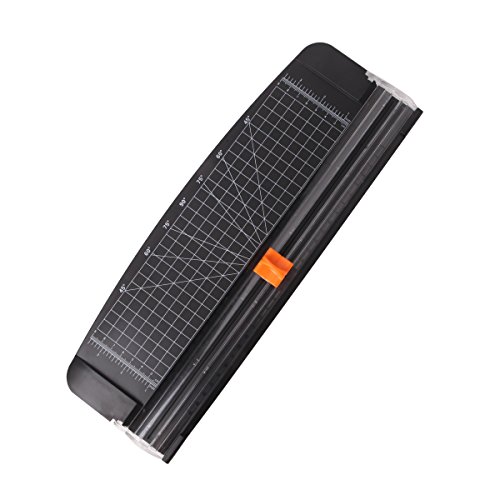
- Paper Trimmer (not necessary but highly recommended)
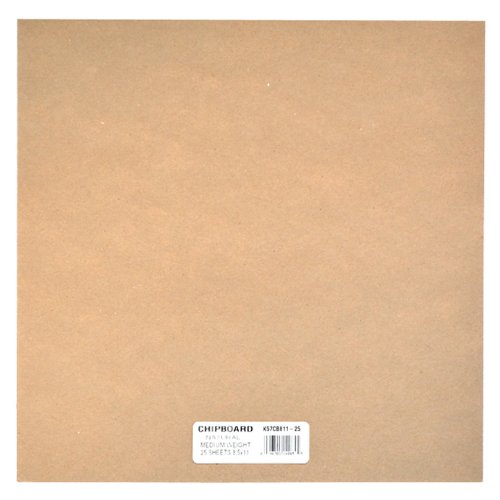
- Cardboard
How to make your paper flower craft :
Step 1: Cut a 6.5″ circle out of cardboard. Use your paper trimmer to cut your pieces of paper into 4.25″ x 5.5″, squares, (which is taking your 8.5×11 sheet and cutting it into fourths.)
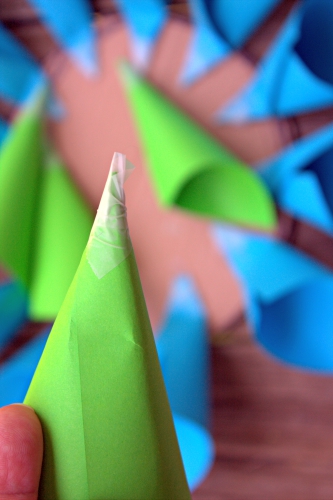
Step 2: Roll each piece of paper into a cone shape with a point in the center of one end. Use a small dot of glue or scotch tape to hold in place. Caitlin preferred to use the tape.

Step 3: Glue the first layer of cones around the edge of the cardboard circle.

Step 4: Your next layer will be glued slightly inside of the outer layer. For the third layer and center cone, you may want to trim off about 2-3″ off the cone before gluing them on. My daughter folded them in, instead of cutting them.
Step 5: You can hang from the ceiling or hang on the wall.
What color combination would you use for your Paper Dahlia Flowers?
Neenah Paper Astrobrights Cardstock, 8.5 Jielisi 12 inch Paper Trimmer, A4 Size Paper Cutter with Automatic Security Safeguard for Coupon, Craft Paper and Photo (Black)Grafix Medium Weight Chipboard Sheets, 12-Inch by 12-Inch, Natural, 25-PackCCbetter Mini Hot Melt Glue Gun with 25pcs Glue Sticks High Temperature Melting Glue Gun Kit Flexible Trigger for DIY Small Craft Projects&Sealing and Quick Repairs(20-watt, Blue)Scotch(R) Home and Office Masking Tape 3436-3, 3/4-inch x 54.6 Yards, 3 PackBIC Atlantis Exact Retractable Ball Pen, Fine Point (0.7 mm), Black, 3-CountScotch Magic Tape and Refillable Dispenser, 3/4 x 650 Inches, 6-Pack (6122)
 Copyright secured by Digiprove © 2019 Kelly Hutchinson
 Betsy Segars says
August 4, 2015 at 3:07 pmThose are GORGEOUS! They look so intricate but don’t too difficult to make 🙂
 Robin (Masshole Mommy) says
August 4, 2015 at 3:07 pmHow cute are those?? I love the bright colors you used.
 Jennifer says
August 4, 2015 at 3:20 pmThose are adorable! I love all the color, and I LOVE how easy they are to make. I’m a big fan of easy.
 Jeanette says
August 4, 2015 at 3:22 pmThis looks like a project I could actually do! LOL I am not the most crafty person so most crafts are out of my league! This one looks easy and fun to do!
 Stacie @ Divine Lifestyle says
August 4, 2015 at 3:22 pmThat is the cutest craft idea ever. This could be good for a baby shower or a little girl’s birthday party.
 Melissa Pezza says
August 4, 2015 at 3:29 pmThose are beautiful! This is a fantastic project. Thanks for sharing it!
 aimee fauci says
August 4, 2015 at 3:37 pmI am a turquoise girls! I could see myself making these in front of a good and long movie.
 Kelsey Apley says
August 4, 2015 at 4:36 pmThose are so pretty and look easy enough to make! I think they are so fun and I know my niece would love making these together!
 Daisy says
August 4, 2015 at 5:24 pmThose are so gorgeous! This is a fun craft for my 5 year old and I to work on together.
 Dawn says
August 4, 2015 at 7:09 pmThose are too cute! I love how colorful they are, and I love how easy they are to make. These would be great for all kinds of events.
 Liz Mays says
August 4, 2015 at 7:37 pmThese are just so vibrant! I’d be so happy with some of them as decorations. This is the coolest craft!
 Amber Edwards says
August 4, 2015 at 8:04 pmI absolutely adore these Dahlia flowers! They look fabulous and would definitely make a beautiful decoration. And so easy too! I love it.
 Mama to 5 BLessings says
August 4, 2015 at 8:17 pmThose are really pretty . Love all the bright colors! My daughter would love these!
 Aimee Smith says
August 4, 2015 at 8:26 pmthese are so fun! I would love to make an all white one!
 Catherine S says
August 4, 2015 at 8:27 pmThese are so cute and creative. I would want to use purples and pinks.
 Pam says
August 4, 2015 at 8:36 pmThese turned out so pretty! I will have to make these now.
 Ruth V. says
August 4, 2015 at 9:01 pmThese are so lovely! You did such a beautiful job! I’d love these in my daughter’s nursery. I’d use pinks and purples for sure.
 Valerie says
August 4, 2015 at 9:05 pmThese are so pretty! I love how they turned out. I would do a purple and pink combination but I do like the blue/green/yellow one you made.
 Demetra says
August 4, 2015 at 9:19 pmThis dahlia is GORGEOUS! I love paper flowers, I pinned this so I can make it later.
 Melissa says
August 4, 2015 at 10:32 pmThese are gorgeous! I’d love to make some for my twins room!
 Vera Sweeney says
August 4, 2015 at 11:05 pmThis craft turned out amazing! I never would have thought these were so easy to make.
 Listed Dawn says
August 4, 2015 at 11:18 pmLove these! So pretty! I would love to try black, purple, pink and white together.
 Felicia says
August 4, 2015 at 11:24 pmThese are beautiful. What a fun craft idea!
 Kristin says
August 4, 2015 at 11:31 pmThose are very cute! Great for a kids birthday party.Thank you for sharing.
 Autumn @Mamachallenge says
August 4, 2015 at 11:39 pmThose look awesome and super easy to make! I think I will have to make some pink ones for my daughter’s upcoming birthday party.
 Nicole B says
August 4, 2015 at 11:41 pmI’m not sure if my first comment went through. Love these flowers, they are so colorful!
 Sabrina @ Dinner, then Dessert says
August 5, 2015 at 2:36 amThose are gorgeous! What a fun craft to do with the kids!
 Christine says
August 5, 2015 at 2:39 amThese are so pretty. I would totally use these to decorate my daughters birthday party.
 Angie | Big Bear's Wife says
August 5, 2015 at 9:03 amOh my, I love the pink and purple one! Love the idea of using these for room decorations and I love that you could also use these for a party!
 Ora Lee Gurr says
August 5, 2015 at 10:44 amOnce winter sets in and we are more or less housebound for a while, the crafts appear and keep idle fingers busy. I think I’ll cheat and make some of these beautiful dahlias next week. The instructions are terrific.
 Seattle Travel Blogger says
August 5, 2015 at 10:52 amHad you not put a description in your picture, I would have thought that they were real. Honestly, you had me fooled from the beginning. Nice job!
 Raijean says
August 5, 2015 at 11:24 amOh wow, I wish I had the patience to do this. I love how bold and colorful they are. Great for brightening up your home.
 Ann Bacciaglia says
August 5, 2015 at 12:33 pmThese are so cute. I would love to make a rainbow Dahlia. These would be great in a kids room.
 Tammy Roy says
August 5, 2015 at 12:34 pmI love these flowers. they look pretty easy to make. I would love to use orange and purple to make a few.
 Crystal says
August 5, 2015 at 4:29 pmThose are so fun! I love the bright colors you chose for your dahlias. They just look happy.
 Lisa says
August 5, 2015 at 6:11 pmWhat a fun and colorful decor idea! My teen daughter is always looking for something new to create and I bet she’d be all over this!
 Camesha | Mama Motivator says
August 6, 2015 at 7:34 pmThese are gorgeous! What a great project.
 Nancy says
October 13, 2015 at 2:30 pmI bought a bunch of assorted card stock at a yard sale recently and now I know exactly what to do with it! So pretty! I think I’ll make some using fall colors for Thanksgiving! Thanks so much!
 Judy Thomas says
November 5, 2015 at 5:25 amThese are gorgeous! You could make them red and green for Christmas 🙂
 Veronica Lee says
December 30, 2016 at 8:10 amThese are so pretty! Looks easy and fun to do too!
 mycraftingworld says
March 28, 2017 at 6:28 amThese are so pretty. I really like how simple they are to make. I think the girls can make these with little supervision. We will try it the next time they visit.
 mycraftingworld says
October 20, 2017 at 7:19 amI love your crafts. They are so child friendly. I want to make these because you said they were a “time sucker”. The girls want to be busy all the time during the weekend they are here. It is hard to find enough things and energy for all that . They don’t care if it takes a long time. They just want to sit at the table with me doing something. Thank you.